
Shards
Find all 9 hidden shards in Speed Monkey Escape with detailed location guides and maps.
Introduction
Shards are hidden collectibles scattered across the Speed Monkey Escape map, and finding all 9 is essential for maximizing your speed potential. Each shard grants a permanent speed bonus that stacks with tail multipliers and rebirth bonuses — they never reset, even after rebirth. Some shards also unlock secret areas and hidden obby courses with the best coin rewards in the game.
All 9 Shard Locations & Bonuses
| Shard | Location | Bonus | Difficulty |
|---|---|---|---|
| Shard 1 | Starting area behind walls | +5% Speed | Easy |
| Shard 2 | Mountain obby section | +10% Speed | Easy |
| Shard 3 | Secret cave passage | +15% Speed | Medium |
| Shard 4 | Underwater tunnel | +20% Speed | Medium |
| Shard 5 | Sky platform course | +25% Speed | Hard |
| Shard 6 | Lava bridge challenge | +30% Speed | Hard |
| Shard 7 | Ice cavern maze | +35% Speed | Hard |
| Shard 8 | Void dimension | +40% Speed | Extreme |
| Shard 9 | Final boss arena | +45% Speed | Extreme |
Shard Collection Map
All 9 Shard Locations
Complete map with every hidden shard and its permanent speed bonus
Core Mechanics
Each of the 9 shards is hidden in a specific location across the map, requiring different movement skills to reach. Shards 1-2 are in the starting area (easy), Shards 3-4 require intermediate navigation (medium), Shards 5-7 demand advanced wall-jumping and speed (hard), and Shards 8-9 are in end-game areas accessible only after high rebirth (extreme). Shard bonuses stack additively: collecting all 9 gives +45% permanent speed that persists through rebirth.
Advantages
Finding all 9 hidden shards provides permanent speed bonuses that stack with tail multipliers and rebirth bonuses. Shard locations are spread across the map, encouraging exploration and rewarding thorough players.
Challenges
Shard locations are deliberately hidden and some require advanced movement skills or specific tail abilities to reach, making them frustrating for newer players. The extreme-difficulty shards (8 and 9) require Rebirth 3+ to even access their areas. Once collected, shards provide no replay value — they are a one-time collection with no variation or refresh mechanic.
Frequently Asked Questions
Do shard bonuses stack with tail and rebirth multipliers?+
Can I collect shards before reaching high rebirth?+
What happens if I rebirth after collecting shards?+
Quick Tips
Collect Shards 1 and 2 first — they are in the starting area (easy difficulty) and provide +5% and +10% permanent speed bonuses. These 15% combined bonus dramatically speeds up your early progression with minimal effort.
Use the Wind Tail's double-jump ability to reach Shards 3-5. Many shard locations require elevated jumps that are only possible with the Wind Tail or higher. If you're struggling to reach a shard, it likely means you need a better tail first.
Shard bonuses persist through rebirth, making early shard collection one of the smartest investments in the game. A player who collects all 9 shards before Rebirth 1 will have a 45% speed advantage over a player who skips them, and that advantage compounds with every subsequent rebirth multiplier.
Featured
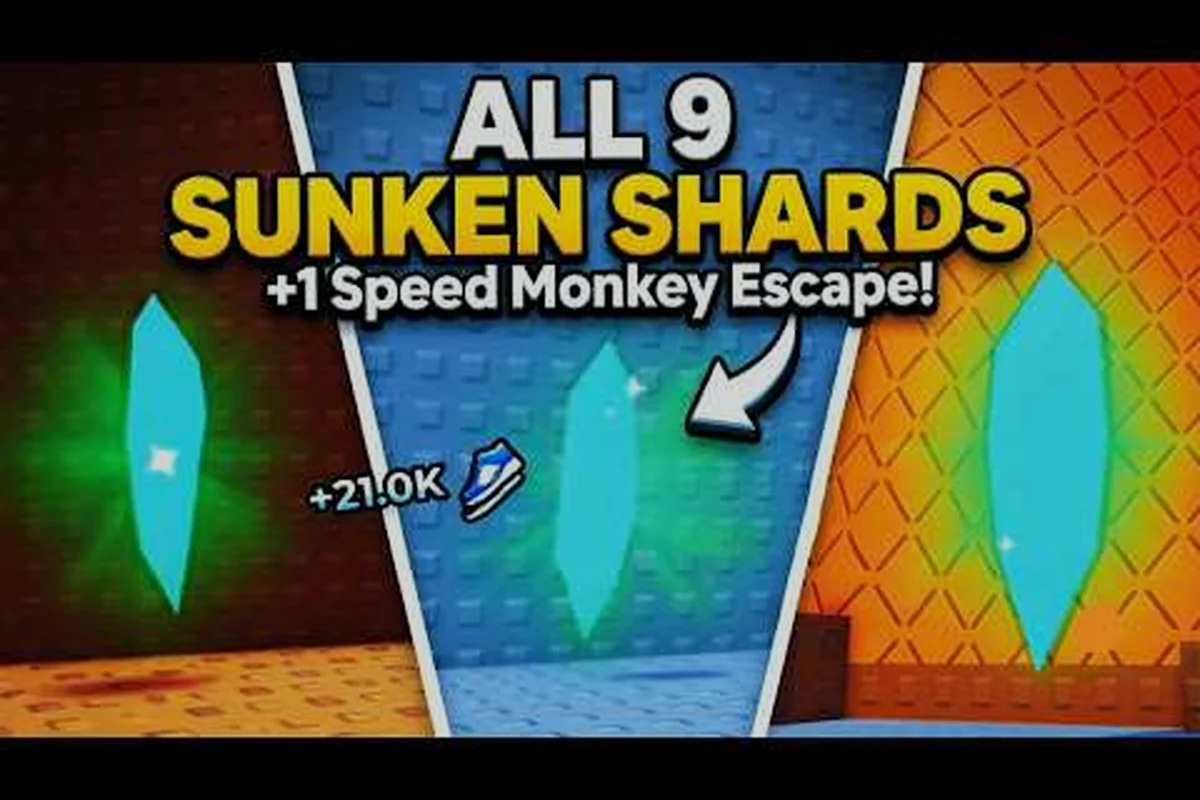
Speed Monkey Escape All Shards: Complete Collection Guide
Master every shard location in Speed Monkey Escape with this comprehensive guide covering all shards, collection strategies, and optimization tips.
Speed Monkey Escape Shard 1 Location: A Complete Walkthrough
Struggling to find the Speed Monkey Escape shard 1 location? This guide reveals the exact path, hidden wall, and platforming tricks to collect your first shard fast.

Speed Monkey Escape Shard Guide: Complete Collection Mastery
Master every Speed Monkey Escape shard location, collection strategy, and progression unlock in this complete guide for all player levels.
All Articles
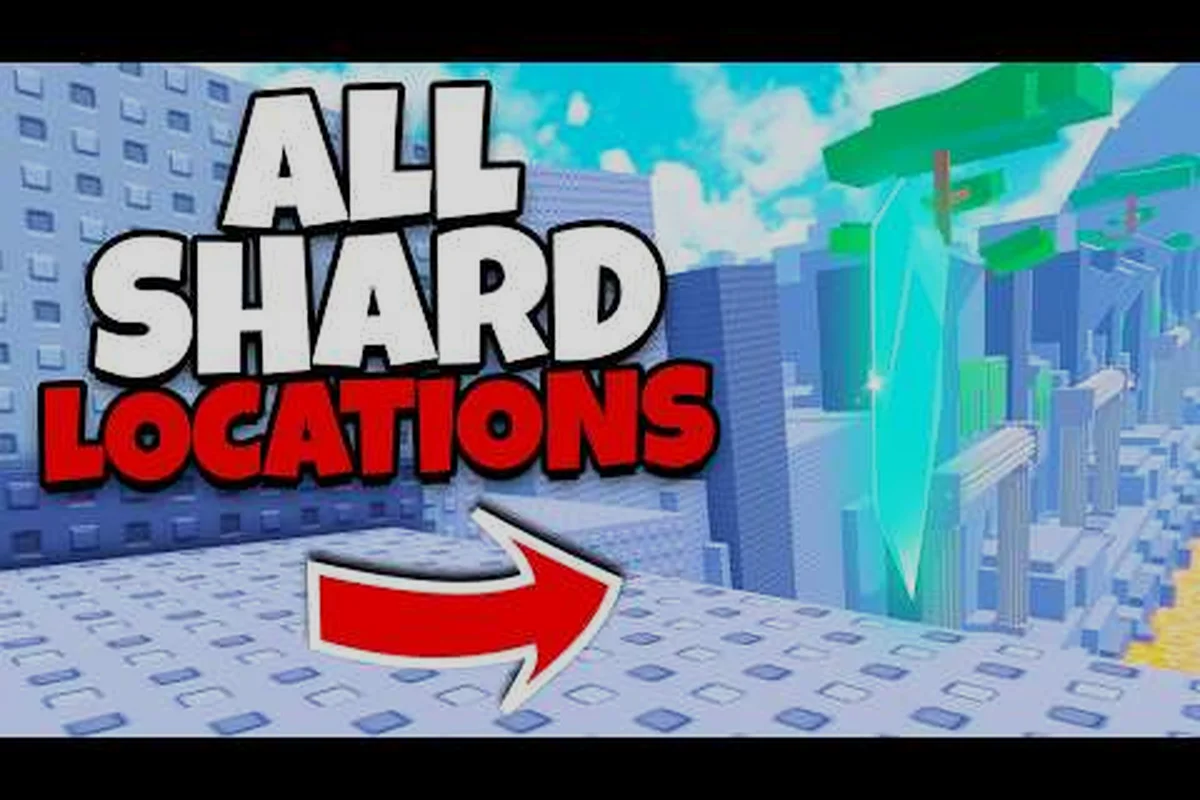
Speed Monkey Escape Shard Locations: Complete Collection Guide
Master every Speed Monkey Escape shard location with this detailed guide. Learn where to find all shards, when to collect them, and expert strategies for efficient farming.
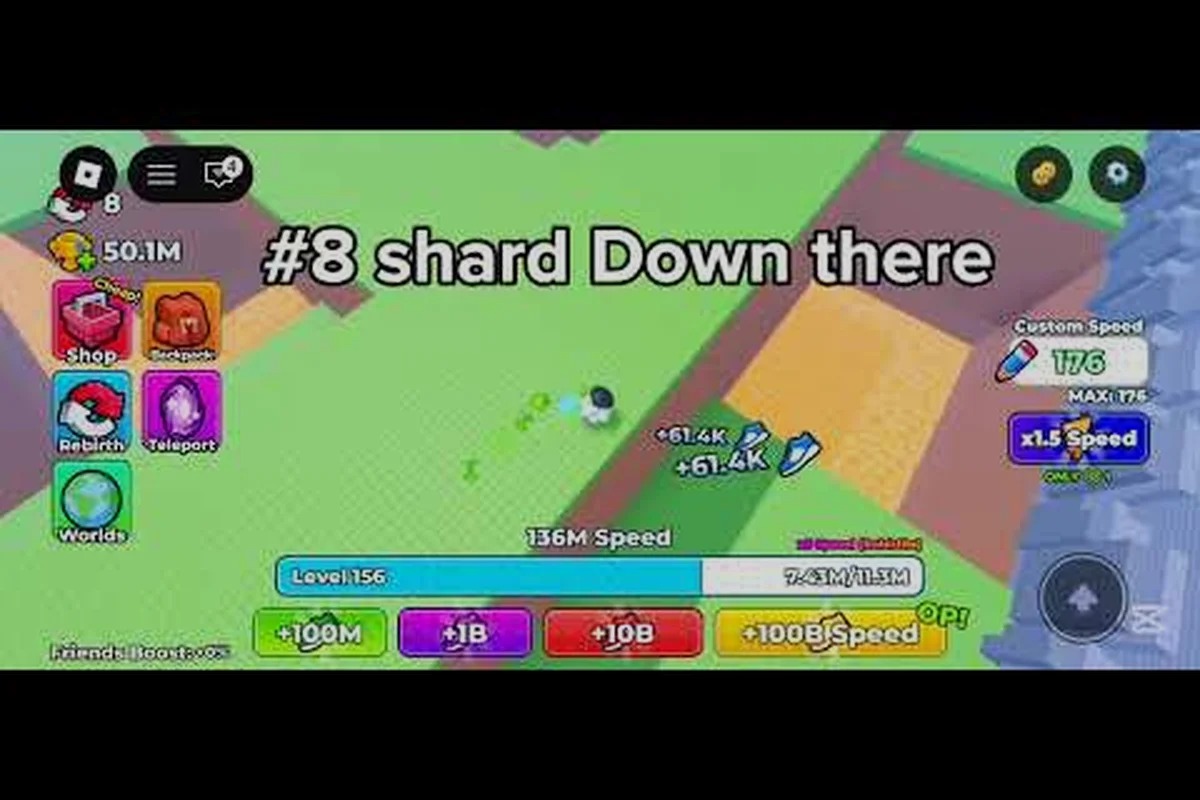
Speed Monkey Escape Where to Find Shards: Complete Location Guide
Master shard hunting in Speed Monkey Escape with this complete location guide covering all regions, acquisition methods, and expert collection tips.
Speed Monkey Escape Shard 2 Location: The Mountain Obby Ascent
Struggling to find the Speed Monkey Escape shard 2 location? This guide breaks down the mountain obby route, required speed, and the exact platforming path to claim the global speed buff.
Speed Monkey Escape Shard 3 Location Guide
Find every Speed Monkey Escape shard 3 location with this complete guide. Step-by-step paths, prerequisites, and expert collection tips.
Complete Guide to Speed Monkey Escape Shard 4 Location
Find the exact Speed Monkey Escape Shard 4 location with step-by-step directions, prerequisites, and expert collection tips for all players.